Cheque Master
ERP Crystal MFG
Cheque Printing Configuration & User Guide
This guide describes how to configure and use the Cheque Printing module from scratch. It explains how to register new cheque books, setup and customize print layouts for different banks, upload blank template images for alignment testing, and print cheque leaflets directly from authorized payment vouchers.
Step 1: Registering Cheque Book Leaves in Cheque Master
Before you can print or assign any cheques, you must register the newly received cheque book leaves in the system.
- Navigate to the Cheque Master screen:
- Go to the Finance menu in the sidebar.
- Under the Master column, click Cheques.
- This opens the Cheque Master Index page.
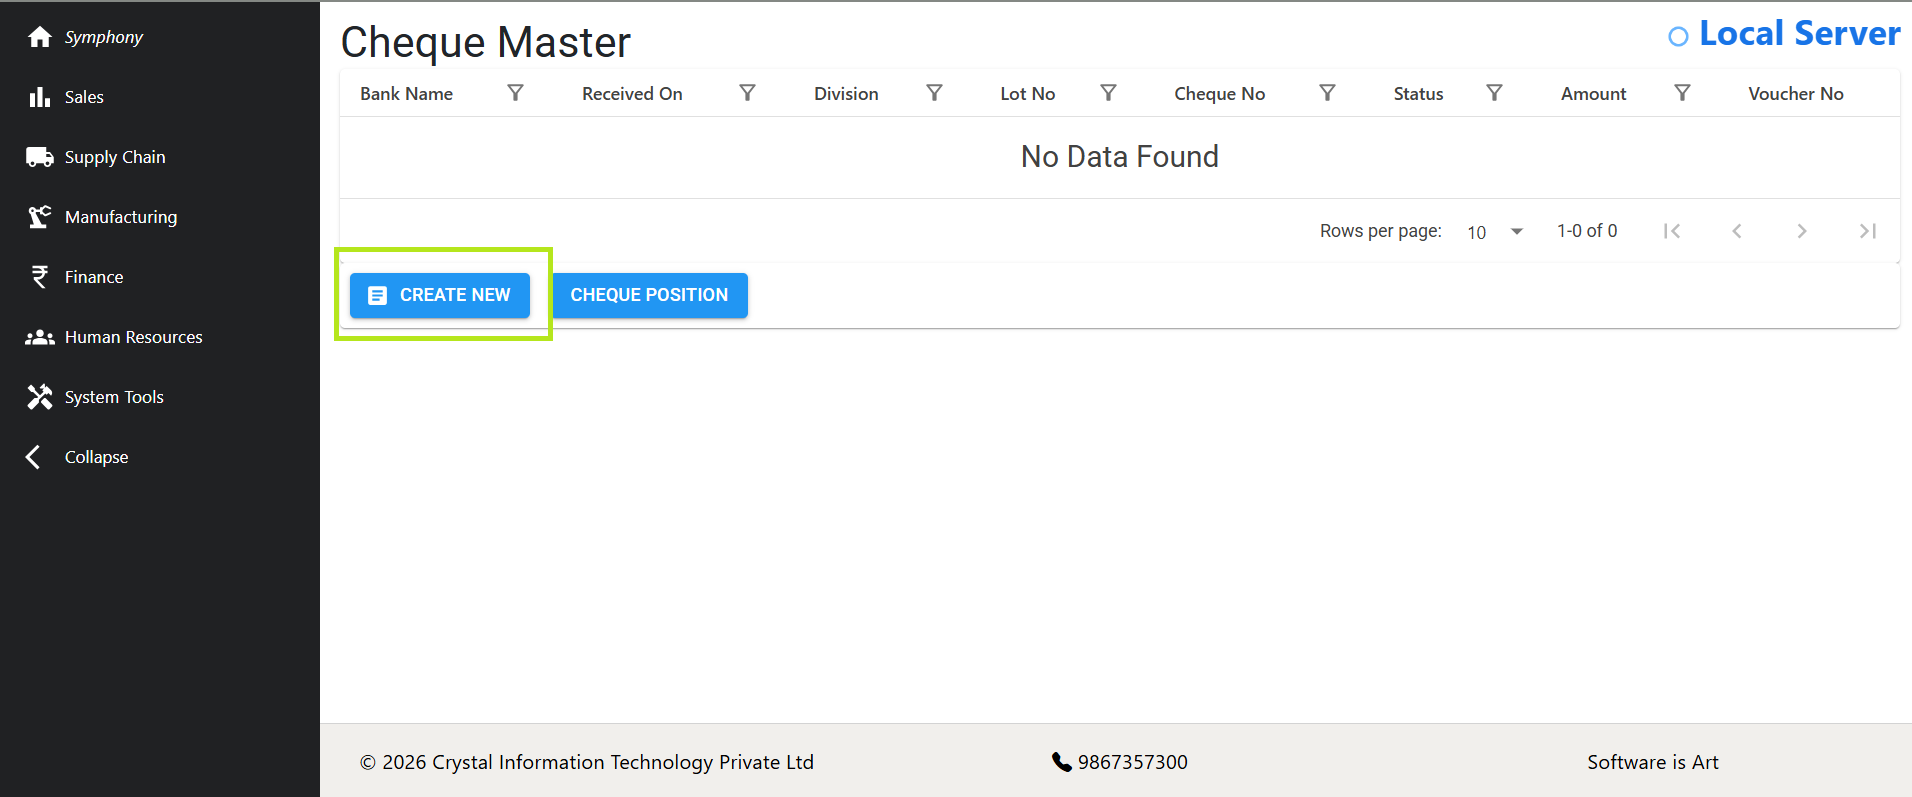
Open the Creation Form:
- Click the CREATE NEW button in the actions area.
Fill the Form Details:
- Bank Name: Select the bank account from the dropdown.
- Division: Select the corresponding business division.
- Cheque Book Received On: Choose the date you received the book.
- Cheque No: Enter the starting/first cheque leaf number (e.g.,
000101). - No of Leaves: Enter the quantity of leaves in the book (value must be between 1 and 100).
- Click Save: You will be redirected to the index page where the newly generated leaflets are listed.
⚠️ [IMPORTANT] The system automatically validates that none of the cheque numbers within the range already exist for the selected bank to prevent double allocation.
Step 2: Configuring Cheque Layout Positions & Offsets
Each bank format has distinct locations for the Date, Payee Name, Amount in words, and Amount in figures. You can customize these layout coordinates.
- Navigate to Cheque Position Option:
- On the Cheque Master Index screen, click the CHEQUE POSITION button.
- Select the bank you wish to configure from the dropdown and click SUBMIT.
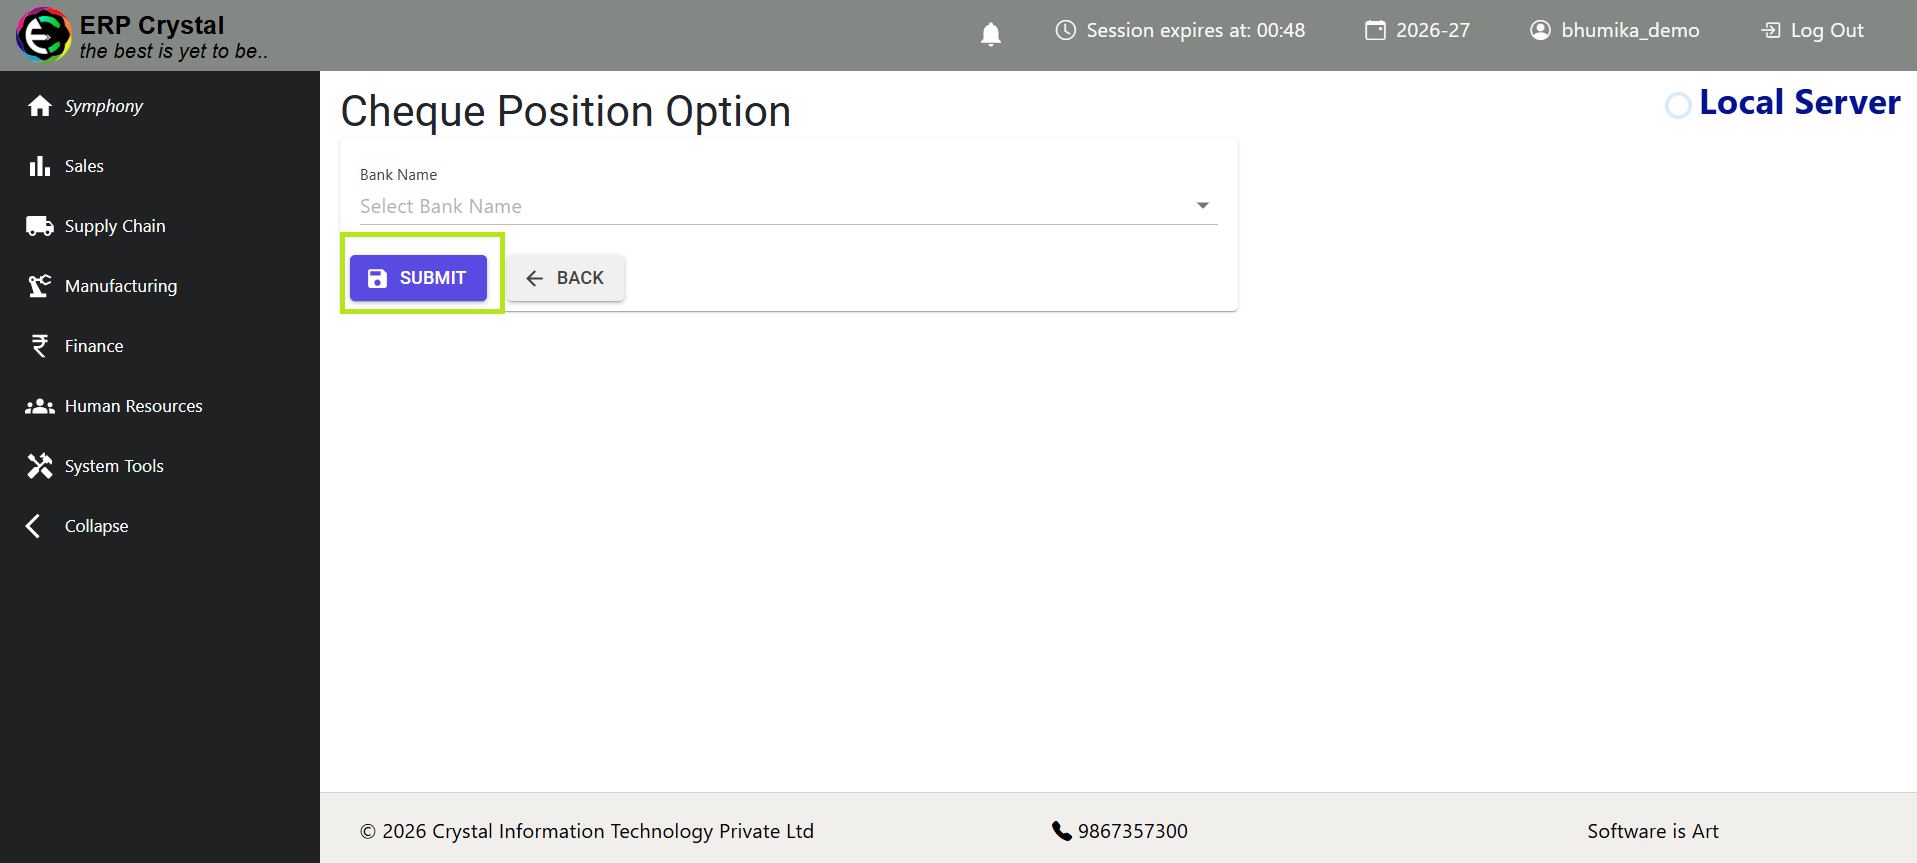
- Initialize Positions (First-Time Setup):
- Click CREATE NEW to automatically populate the default coordinate configuration.
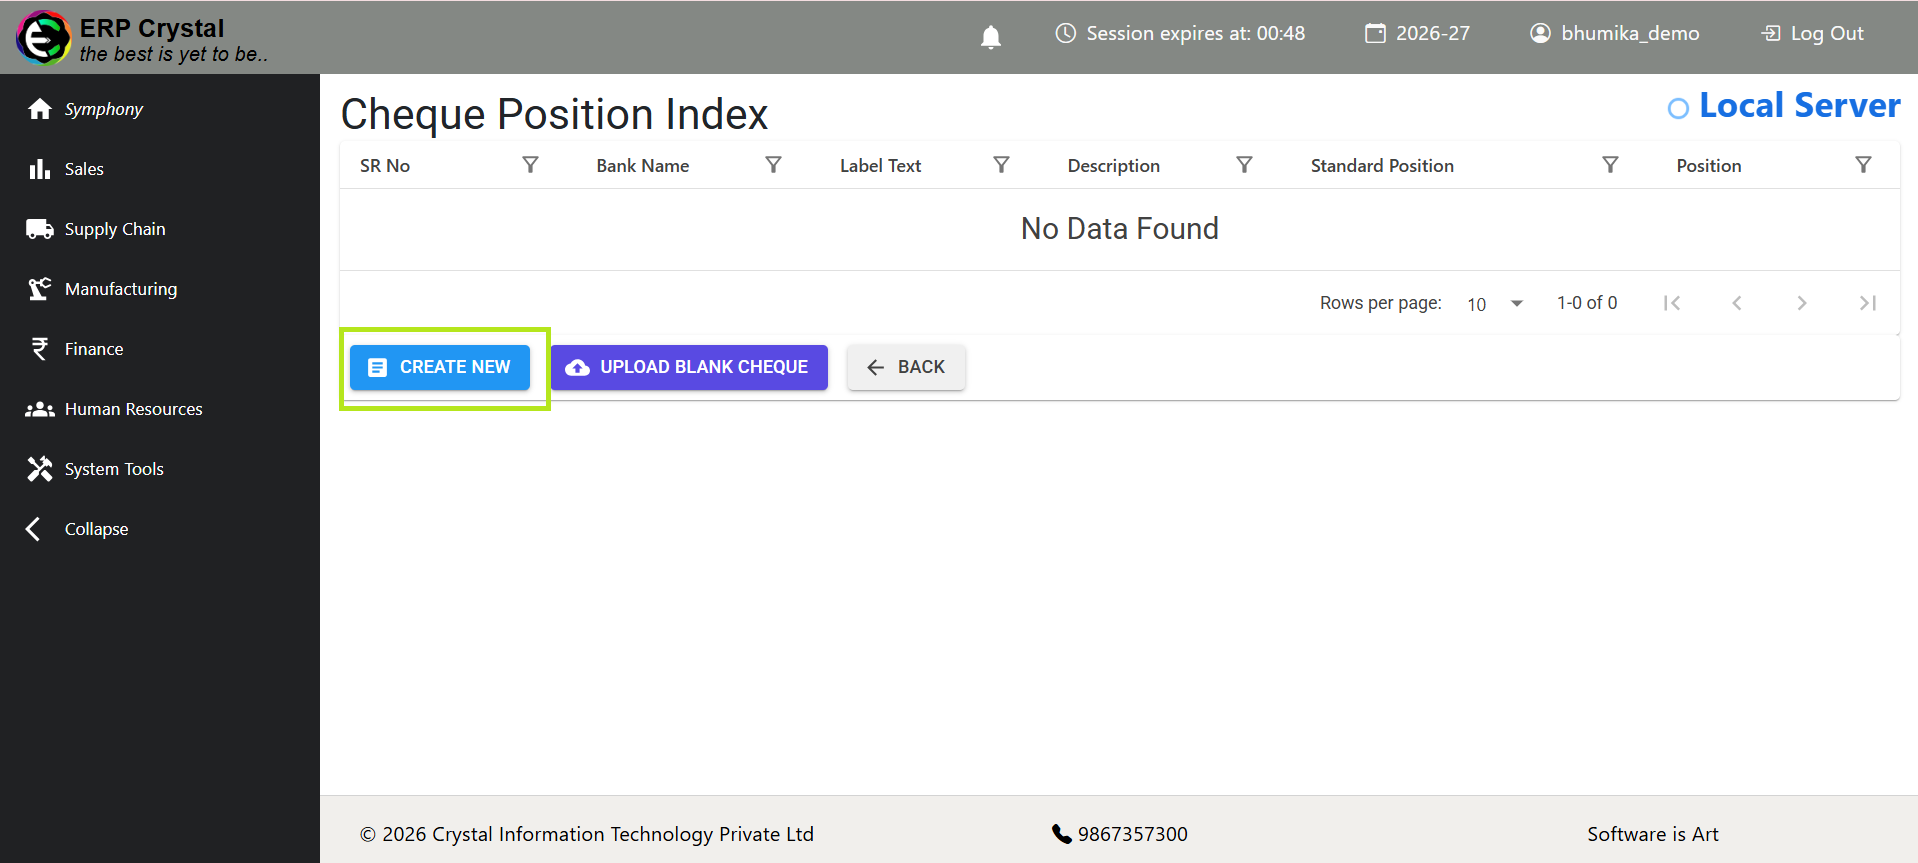
Understand Position Fields: Positions represent padding offsets in points (or layout units) applied inside the QuestPDF layout generator:
Label_Ac_Payee_Right/Left/Top/Bottom_Padding: Positions the ‘A/C Payee Not Negotiable’ text box.Date_Box_Right/Left/Top/Bottom_Padding: Shifts the overall Date block.Date_Right/Left/Top/Bottom_Padding: Adjusts spacing between individual date character digits (D D M M Y Y Y Y).Payee_Name_Right/Left/Top/Bottom_Padding: Positions the Payee Name text.Amount_In_Text_Right/Left/Top/Bottom_Padding: Positions the Amount in Words text.Amount_Right/Left/Top/Bottom_Padding: Positions the numeric Amount value.
Edit Specific Coordinates:
- Click on the SR No link of the coordinate you wish to modify.
- In the modification screen, adjust the Position numeric value.
- Click SAVE to apply.
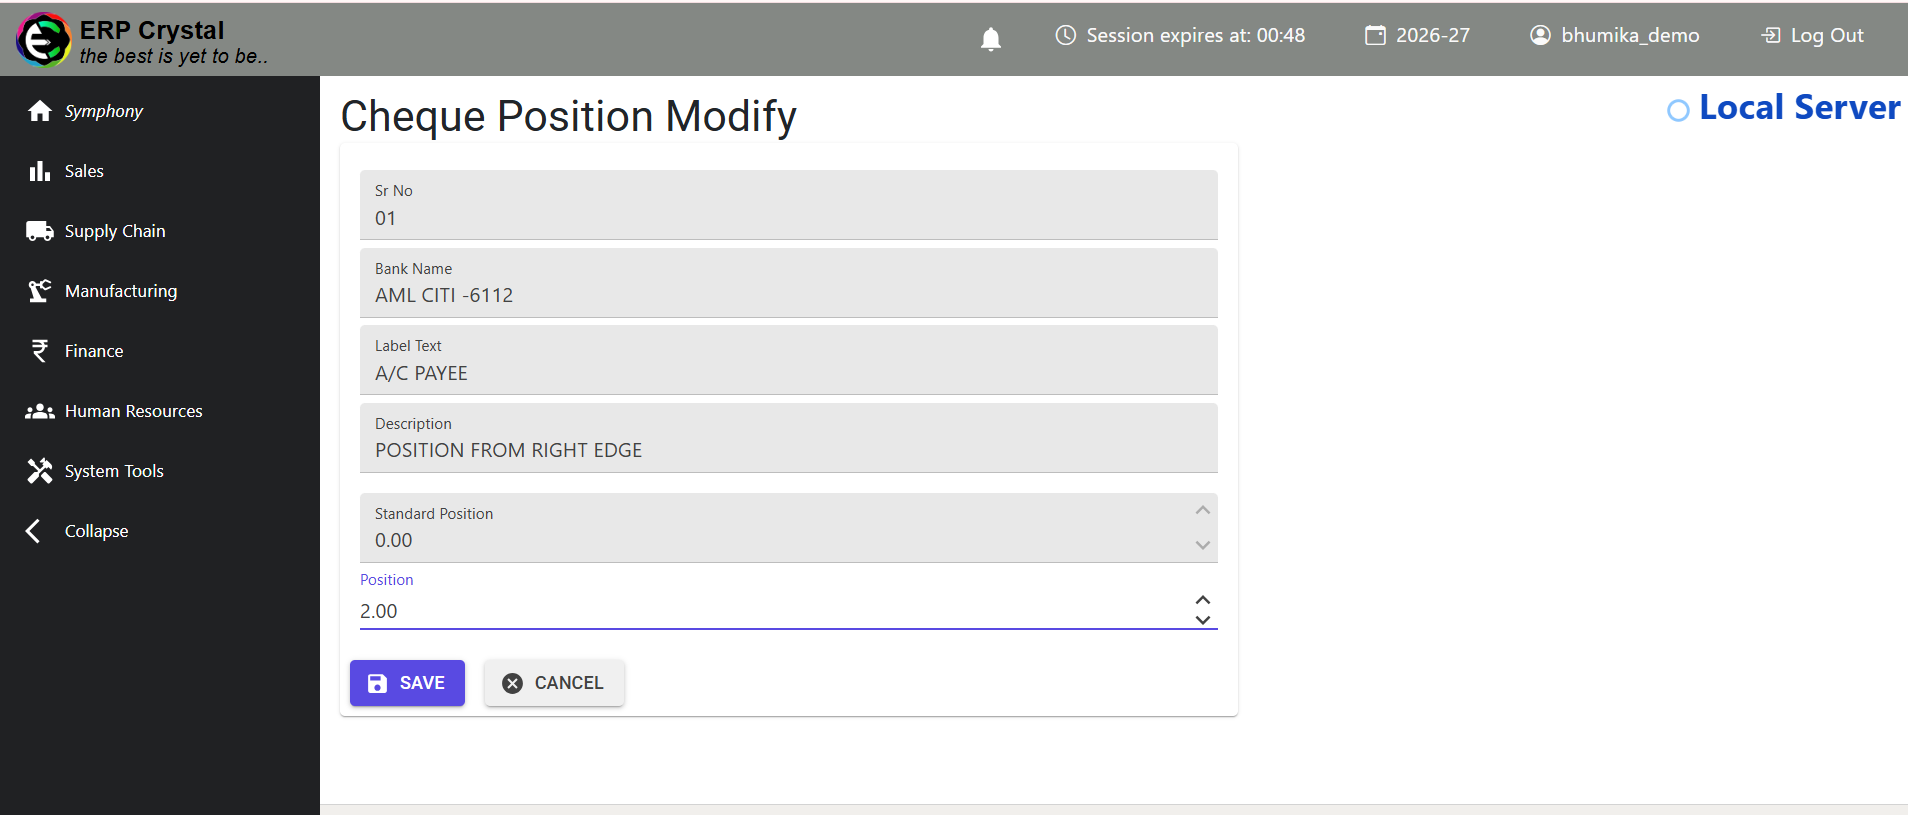
💡 [TIP] To shift an element to the right, increase its
Left_Paddingor decrease itsRight_Padding. To shift it downwards, increase itsTop_Paddingor decrease itsBottom_Padding. Adjust in small increments (e.g., 5 or 10 units at a time).
Step 3: Uploading a Blank Cheque Template Image
To simplify coordinate alignment, you can upload a scanned image of your blank cheque to act as a layout guide.
Access the Upload Dialog:
- On the Cheque Position Index page, click the UPLOAD BLANK CHEQUE button.
Upload the Scanned Image:
- Click SELECT FILE and choose a scanned PNG file of the physical cheque (limit: 1 MB).
- Click UPLOAD.
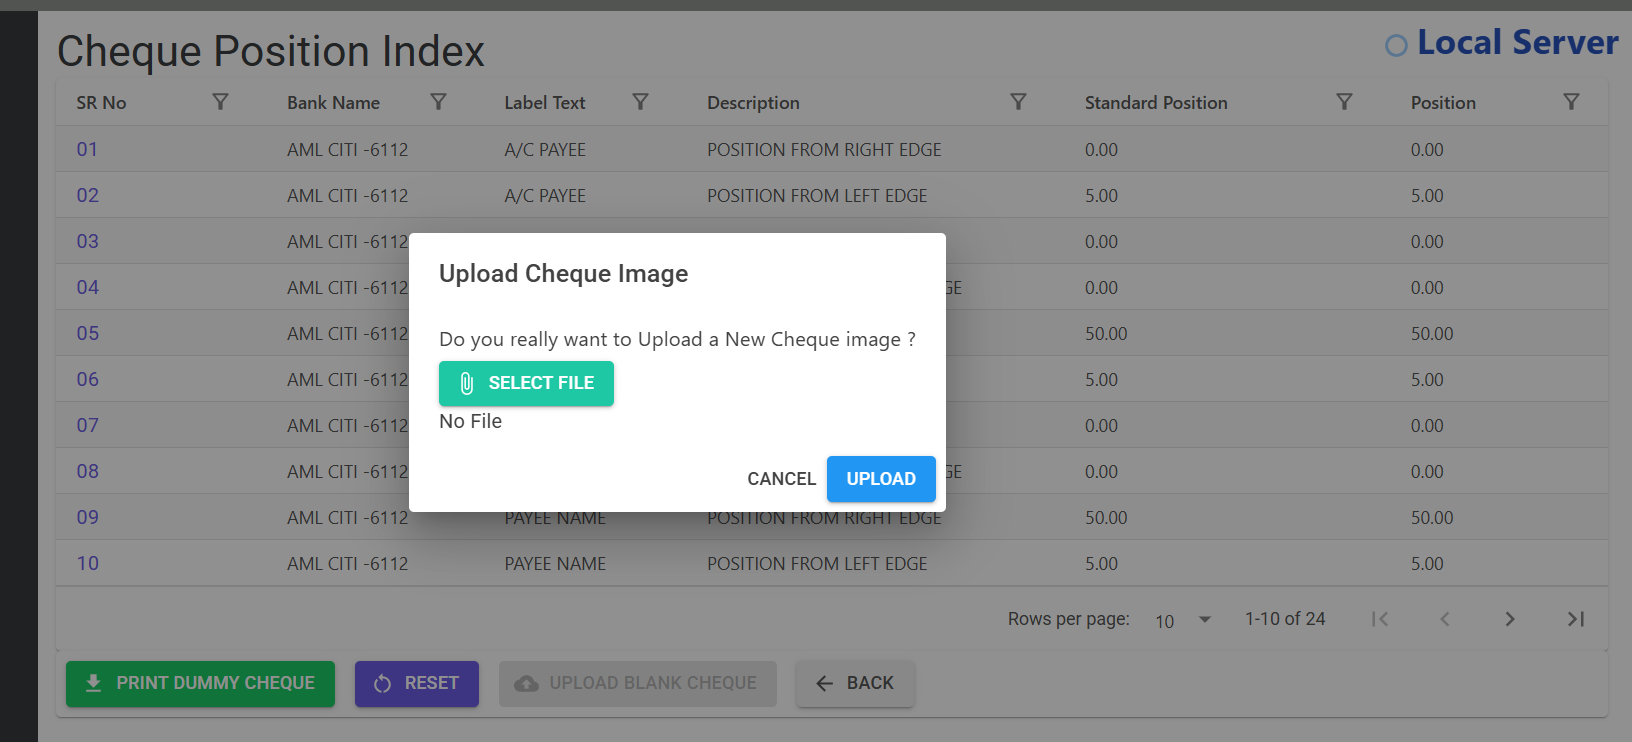
Step 4: Printing and Reviewing a Demo (Dummy) Cheque
With a blank template uploaded, you can generate a demo PDF to visually check how printed text aligns with the physical boundaries of the cheque.
- Print a Test Leaflet:
- On the Cheque Position Index page, click the PRINT DUMMY CHEQUE button.
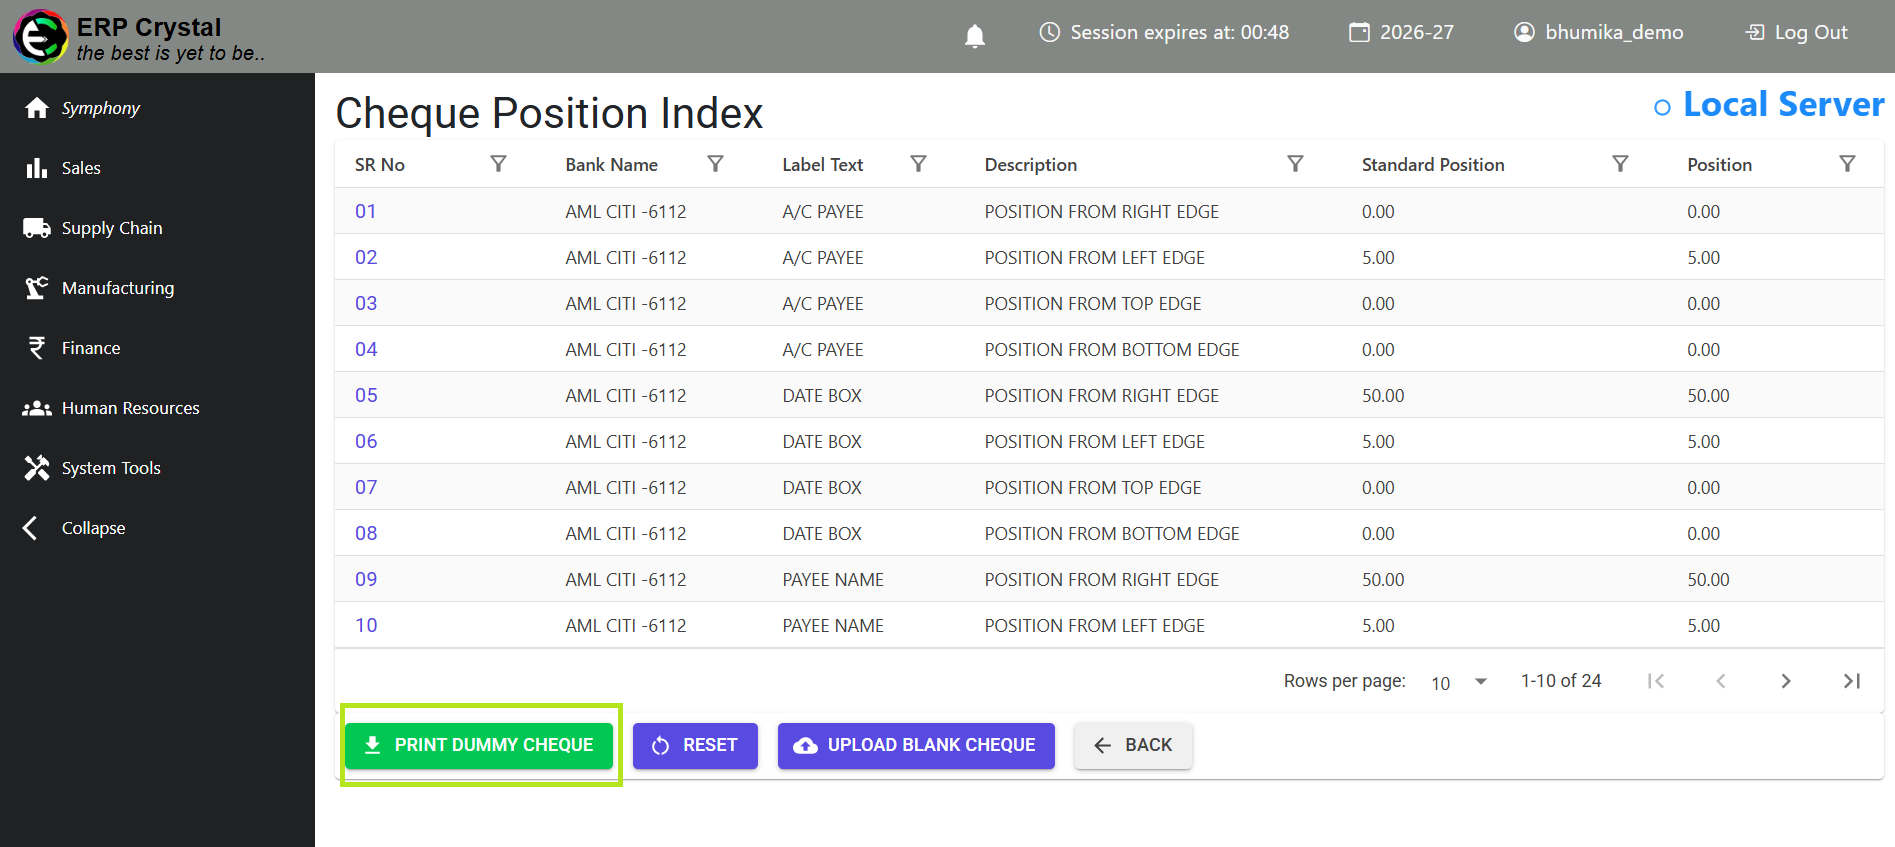
- Fine-Tune Positions:
- Inspect the alignment of the text elements (Date, Payee, Amount, Words, crossing) against the background boxes.
- If alignment is incorrect, return to Step 2 to modify the padding values.
ℹ️ [NOTE] If you make adjustments that break the layout entirely, click the RESET button on the Cheque Position Index screen to restore default positions.
Step 5: Printing a Cheque from a Payment Voucher
Once your layout alignment is verified, you can print cheques directly from payment transactions.
Select the Payment Voucher:
- Open your payment voucher list and navigate to the details of the desired voucher.
Open Other Operations:
- On the Voucher Details screen, click the Other Operations link.
Authorize the Cheque:
- Payment status must be authorized before printing is allowed.
- If the status is Request Cheque Approval, click the Authorize Cheque link and confirm the dialog.
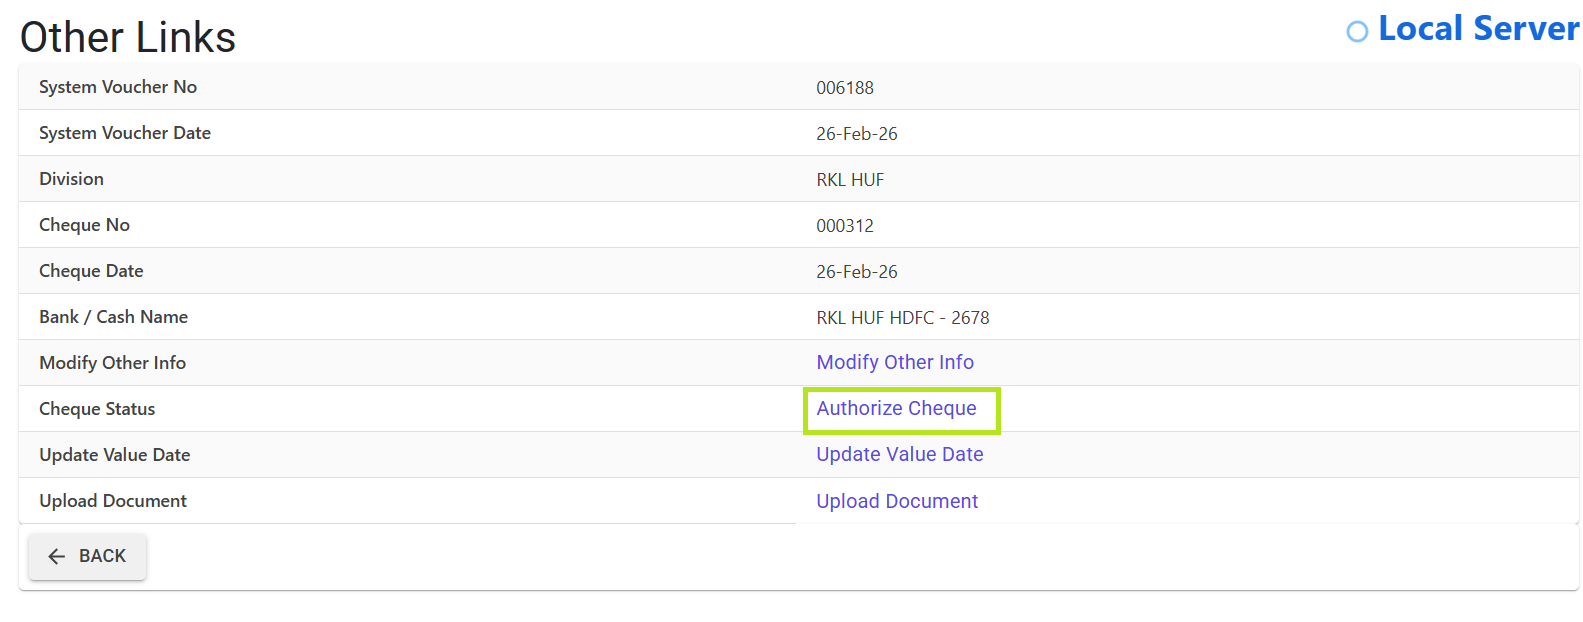
- Open Cheque Print Configuration:
- Click the Print Cheque link under the actions menu. This opens the Cheque Print page.
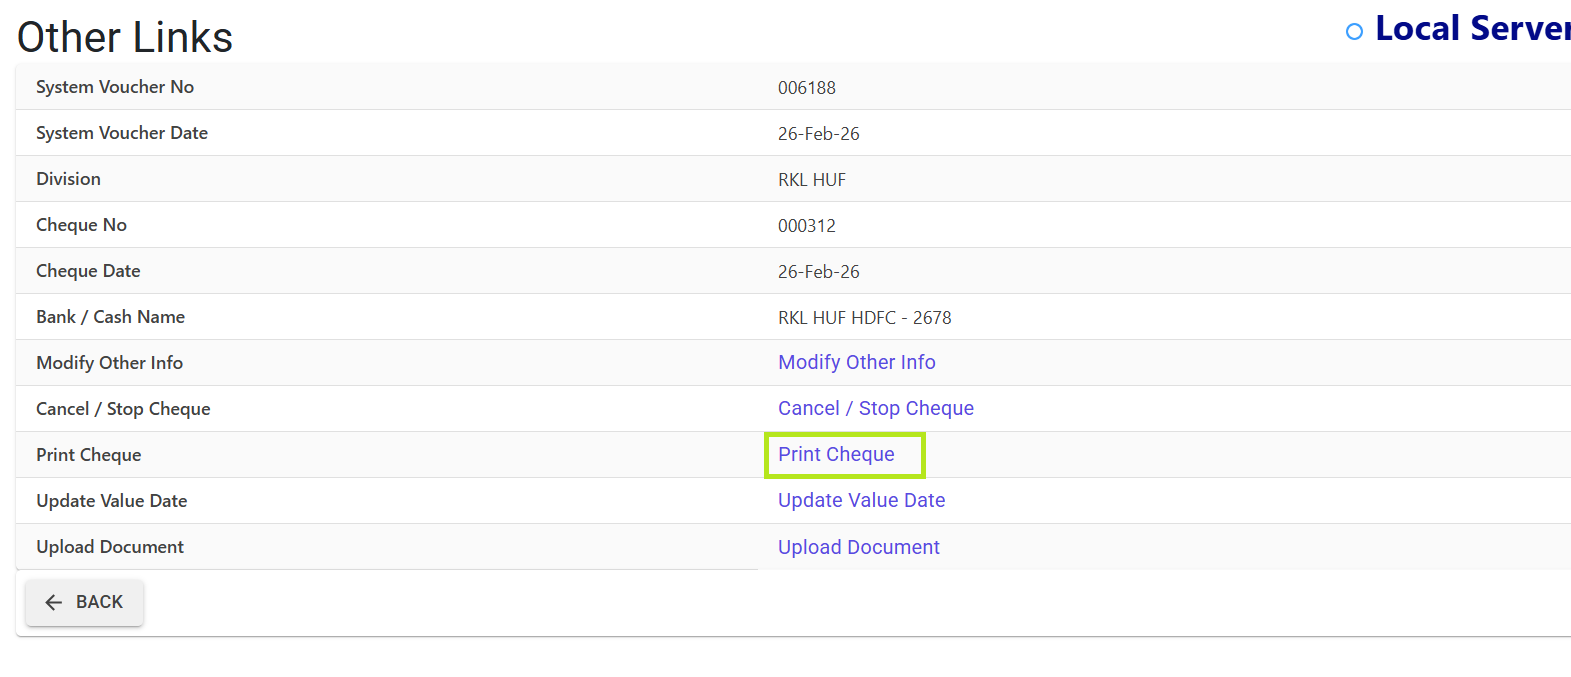
Configure Print Options:
- Cheque No: Start typing to search for available leaves. The system auto-completes with available Unissued cheques registered in Step 1 for this bank.
- Payee Name: Customize based on account relations:
- GL Account: If the voucher relates to a General Ledger (GL) account, the name is editable.
- Party Account: If it relates to a Party account, the field is read-only and automatically bound to the party’s account name.
- Cheque Type: Select the appropriate print format style:
- A/c Payee Only: Standard crossing stamp text ‘A/C Payee Not Negotiable’ will be printed.
- Bearer: No crossing stamp will be printed.
- RTGS Cheques: Formats the payee line specifically for RTGS transfers (e.g. ‘[Bank Name] A/c RTGS/NEFT’).
Print and Complete:
- Click SAVE.
- The database updates the cheque leaf status to Issued, assigns the voucher amount, and records the cheque detail on the voucher.
- A print-ready PDF is generated. Unlike the dummy print, this PDF will not include the background image so it prints cleanly on the physical cheque leaflet loaded in your printer.